
Browse the docs
Guides
Open in dashboardThis guide takes you from a new Konkui account to a working bot. You'll create a workspace, build a bot from your website in a couple of minutes, try it out, and use the setup checklist on Home to finish the rest.
Before you begin
- A Konkui account with a verified email address. If you haven't verified yet, Konkui asks you to before you can create a workspace.
- Your business website address (optional, but it's the fastest way to start).
- About 15 minutes.
1. Create your workspace
A workspace (organization) holds your bots, knowledge, conversations and team. When you sign in for the first time, you see Create your organization:
| Field | What to enter |
|---|---|
| Organization name | Your business name, at least 2 characters. |
| Workspace ID | The address of your dashboard, shown after /org/. It's filled in from your name; you can change it. Use 3–40 lowercase letters, numbers and hyphens. Konkui checks that it's available as you type. It can't be changed later. |
| Description | Optional. What your business does. |
Click Create organization. Your workspace starts on the free plan and opens its Home page.
2. Take the one-minute tour
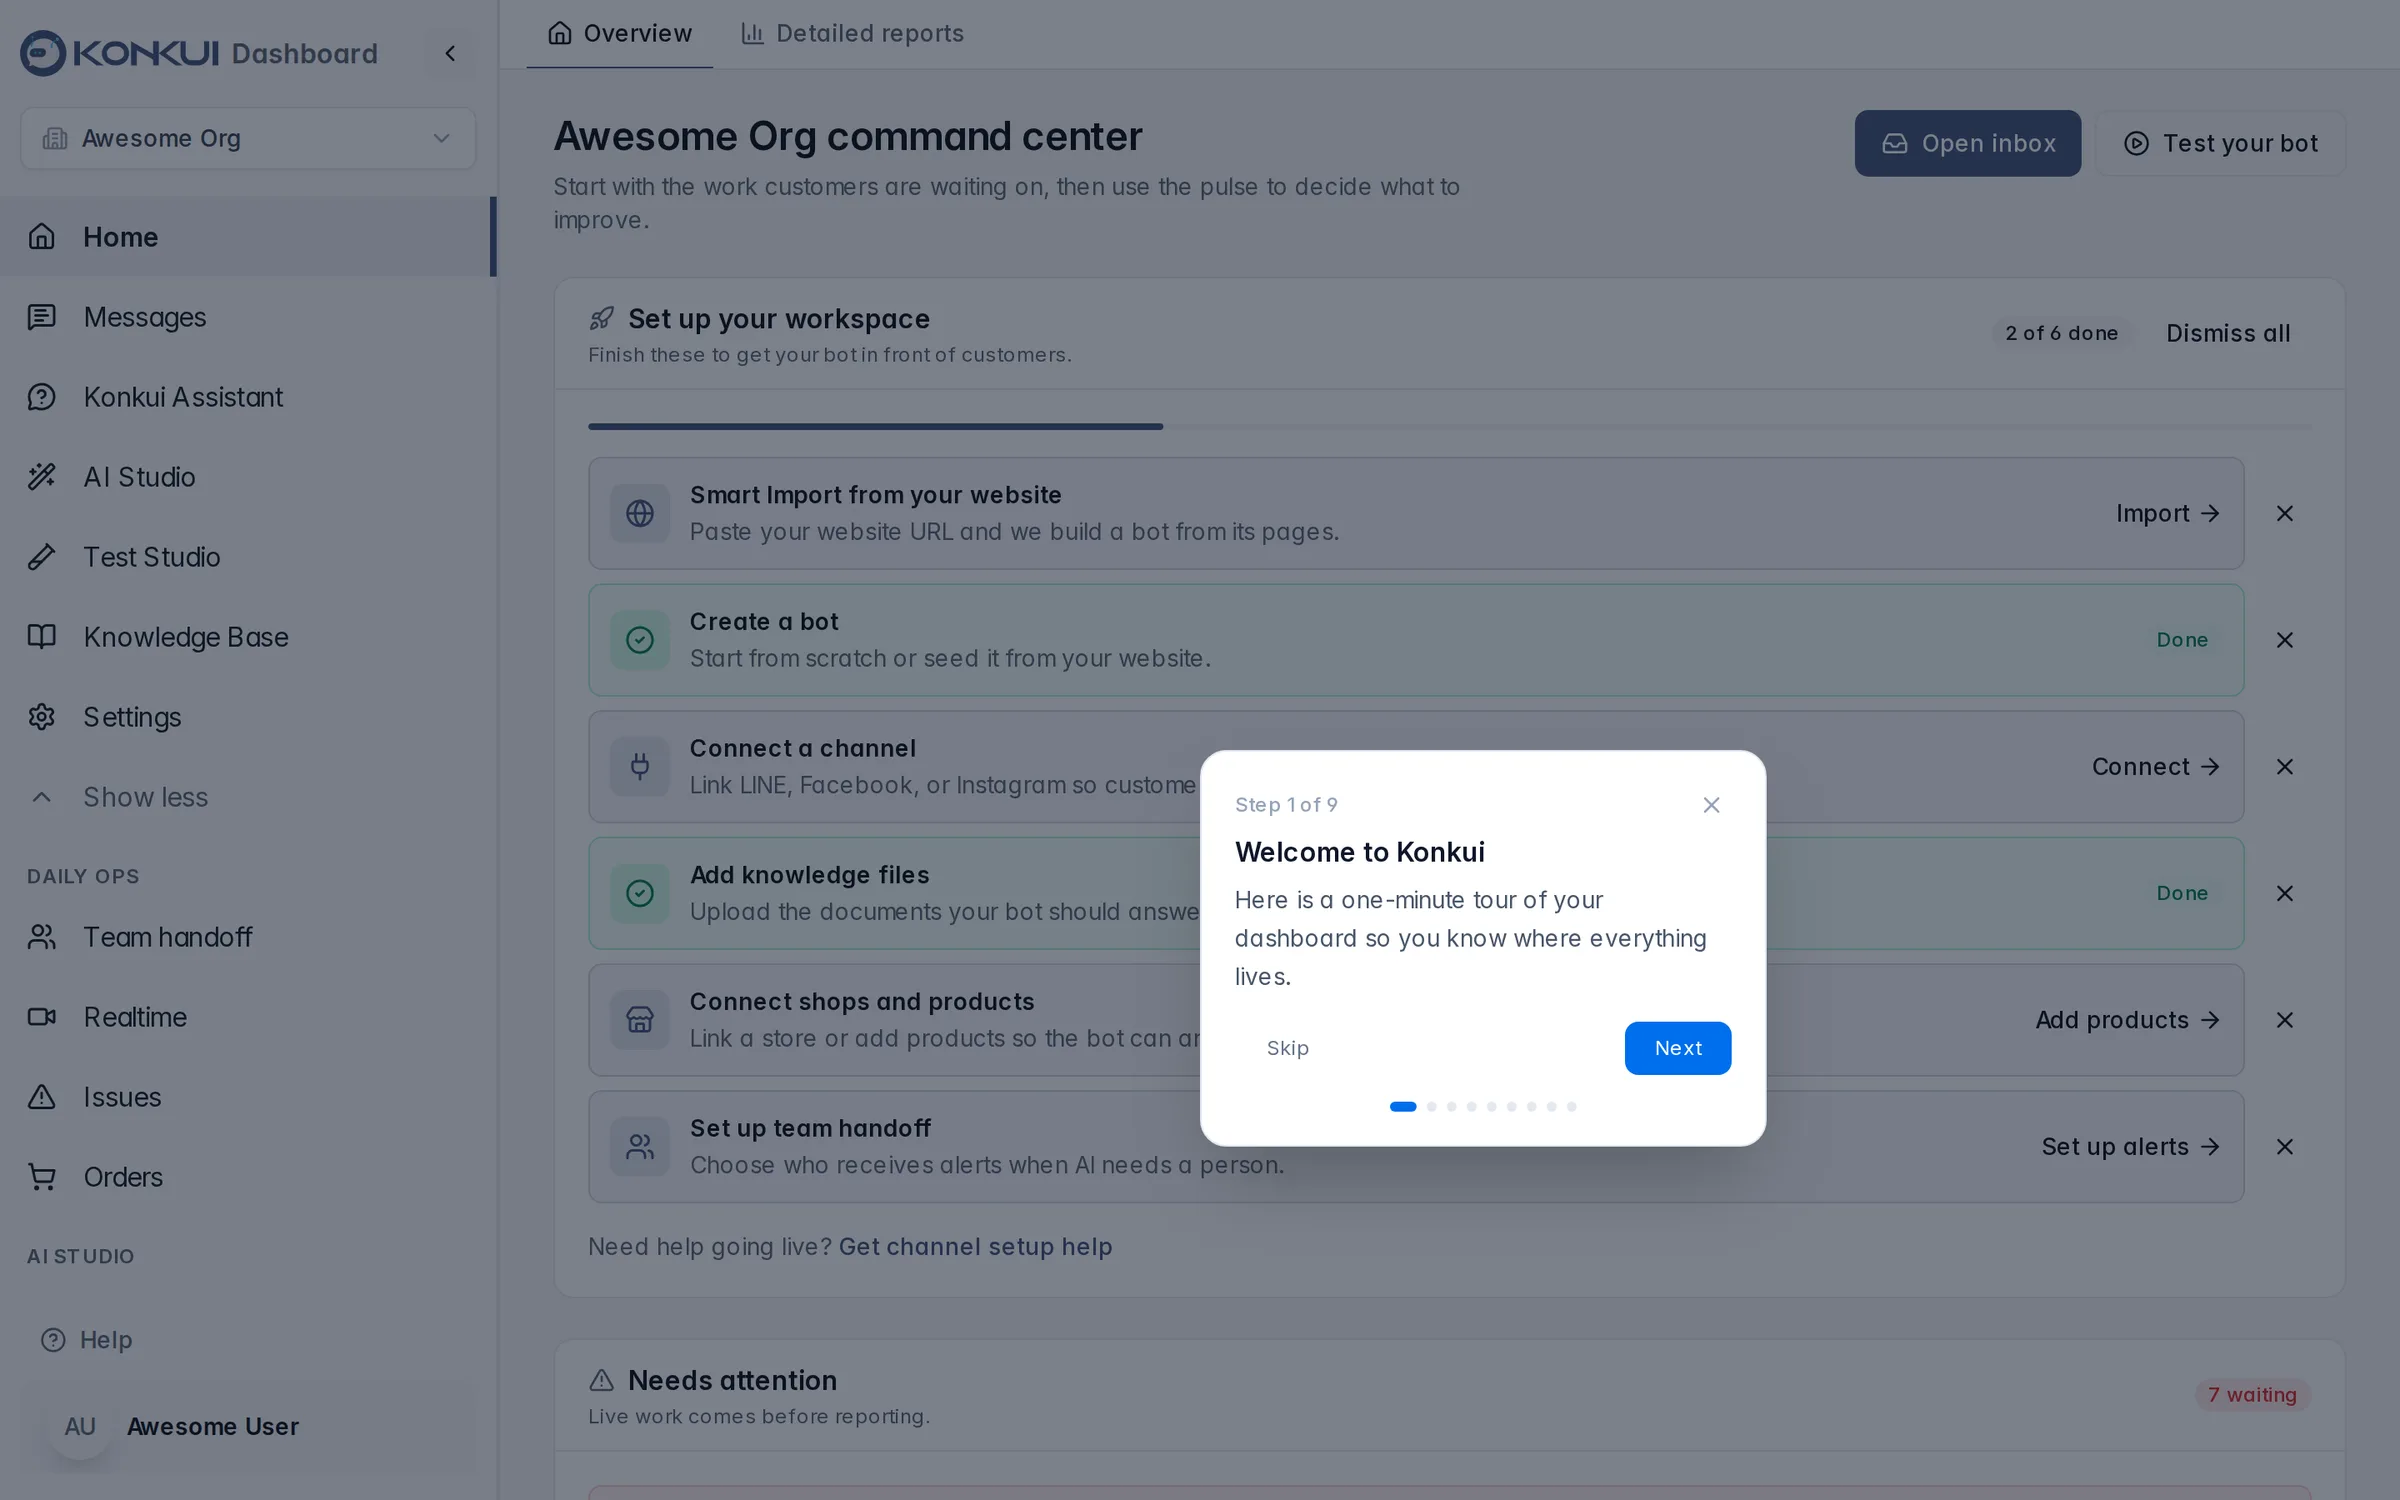
The first time you open the dashboard on a computer, a short tour shows you the workspace switcher, the everyday menu, AI Studio, More, Settings, the language switch and Help. You can replay it any time with Help at the bottom of the sidebar. To switch the dashboard between Thai and English, open your profile at the bottom of the sidebar.
3. Build your first bot from your website
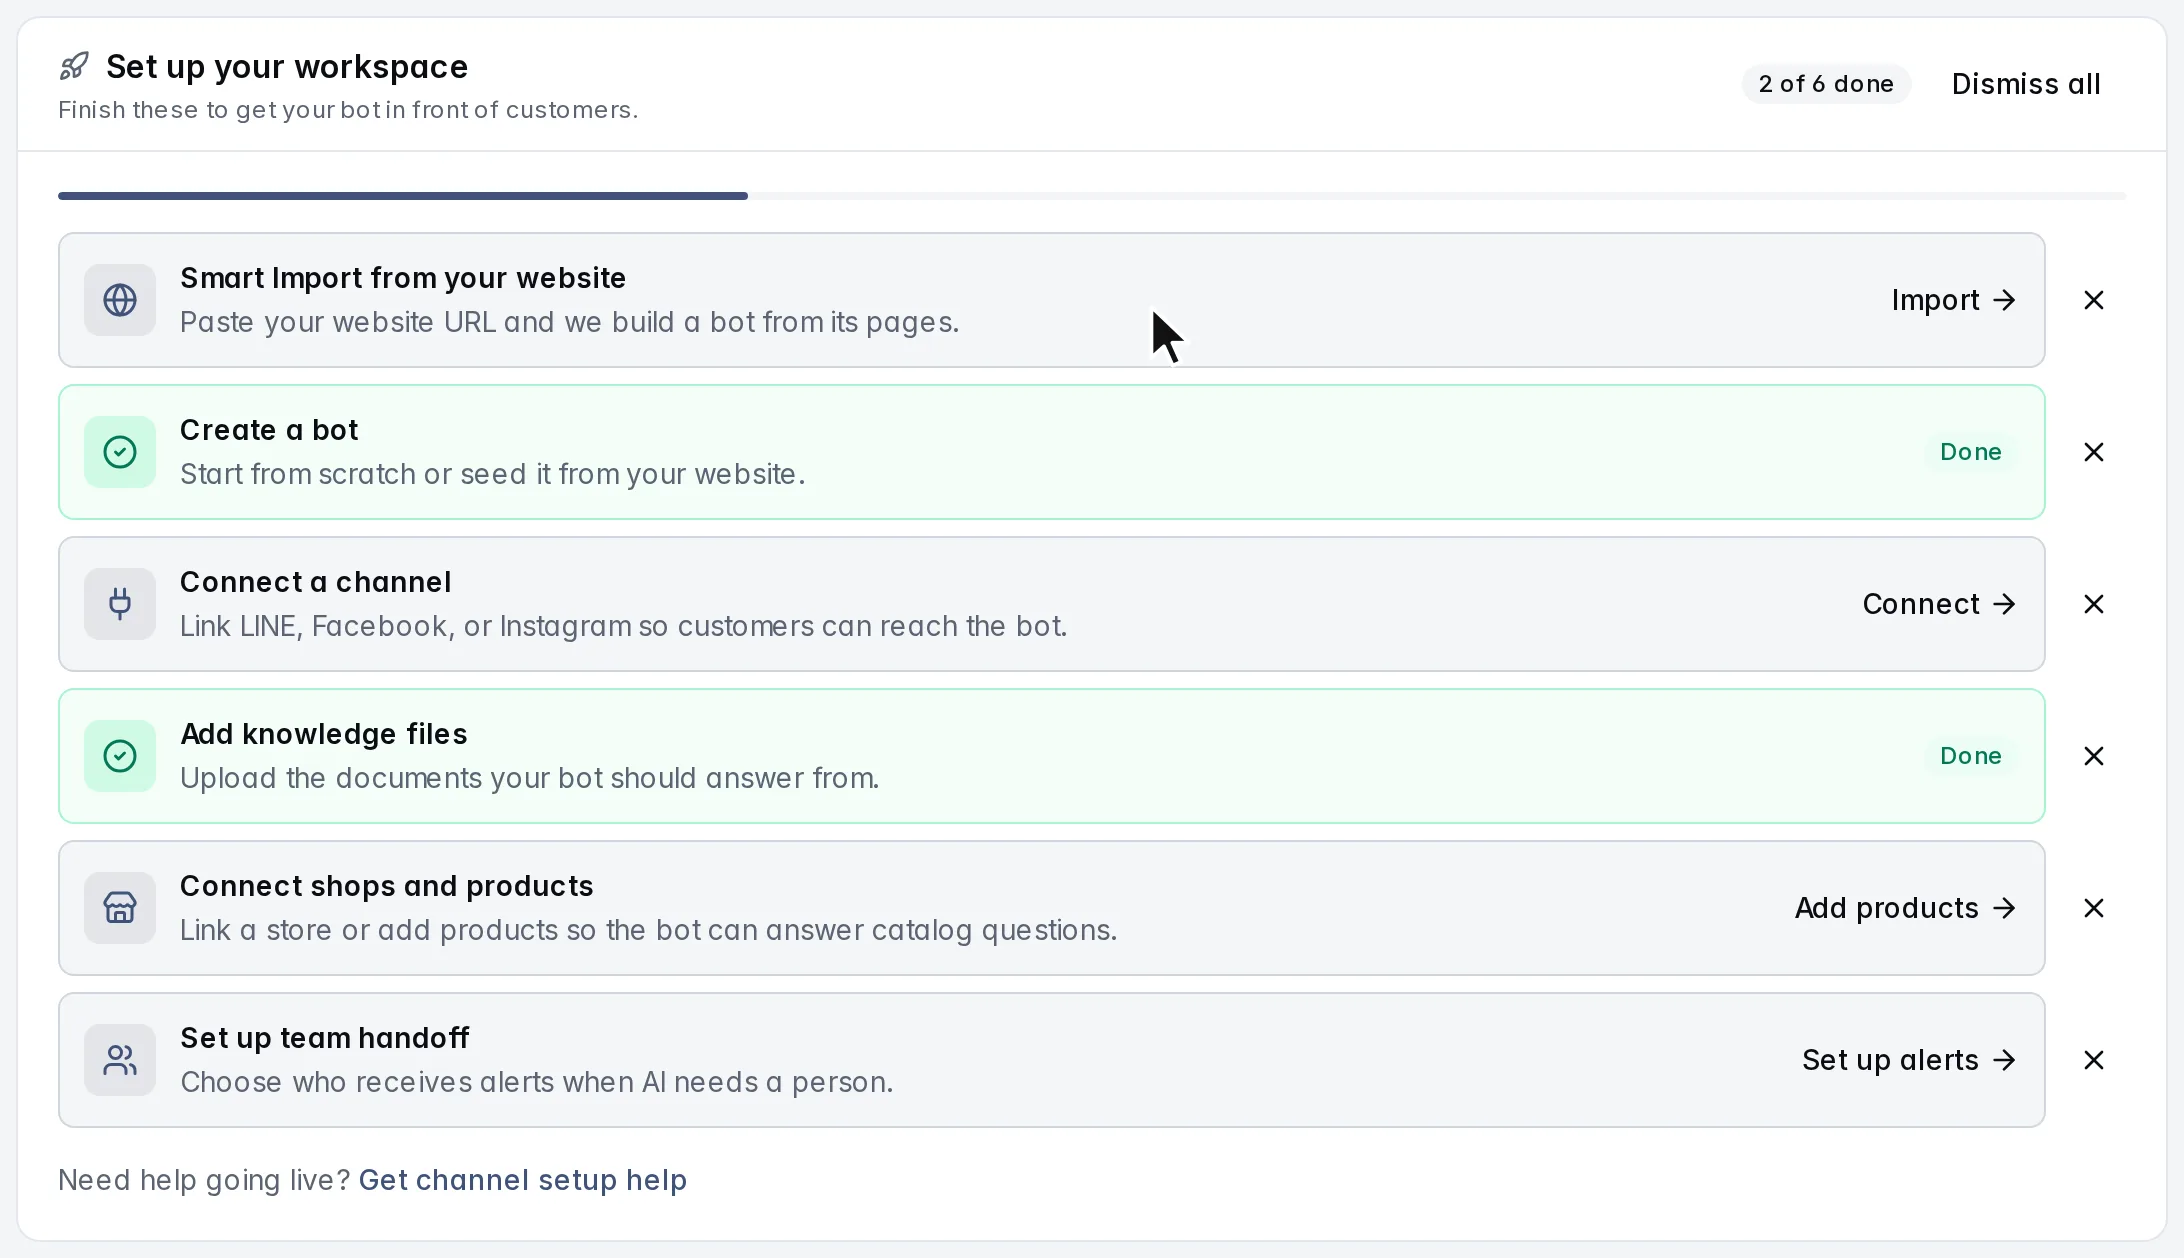
On Home, the Set up your workspace checklist lists everything that gets a bot in front of customers. Start with the first task.
-
Click Smart Import from your website. (You can also open Bots and click Setup from Website.)
-
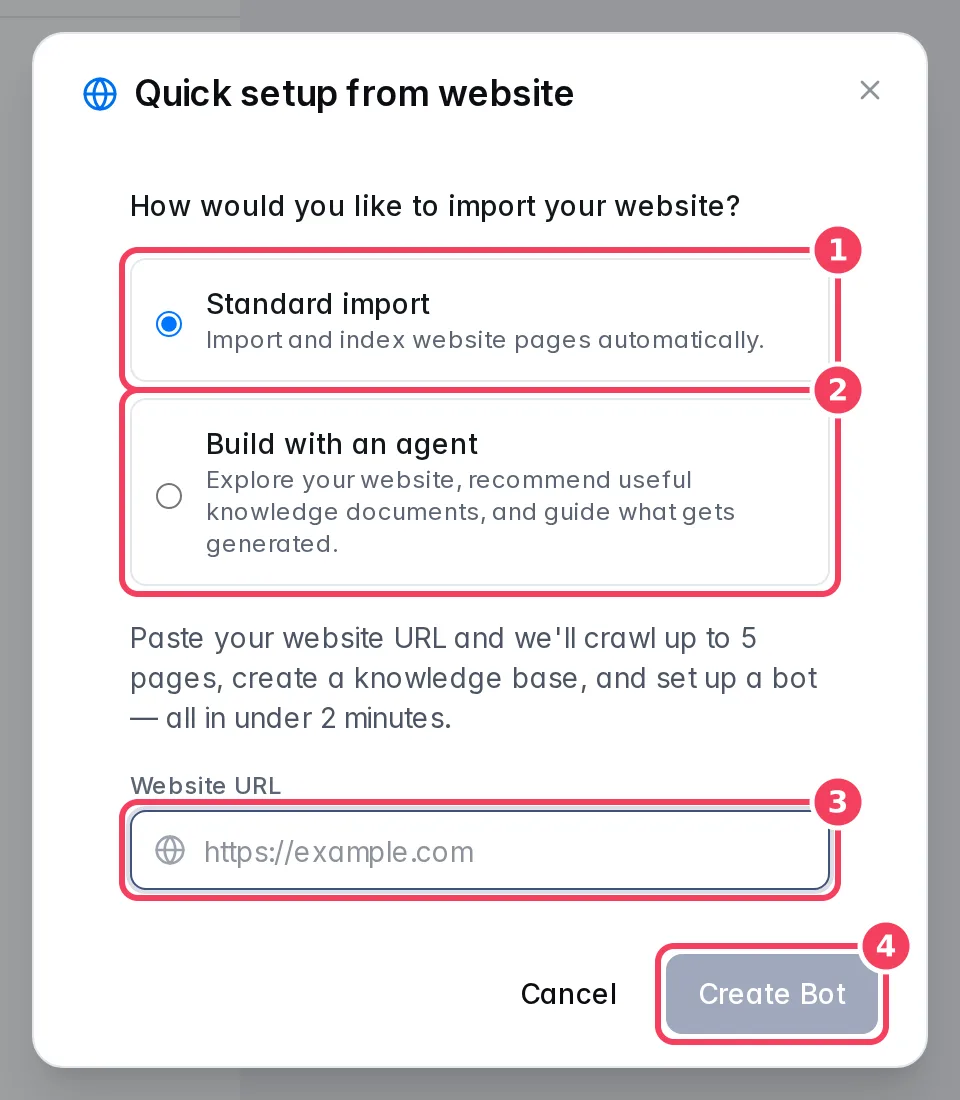
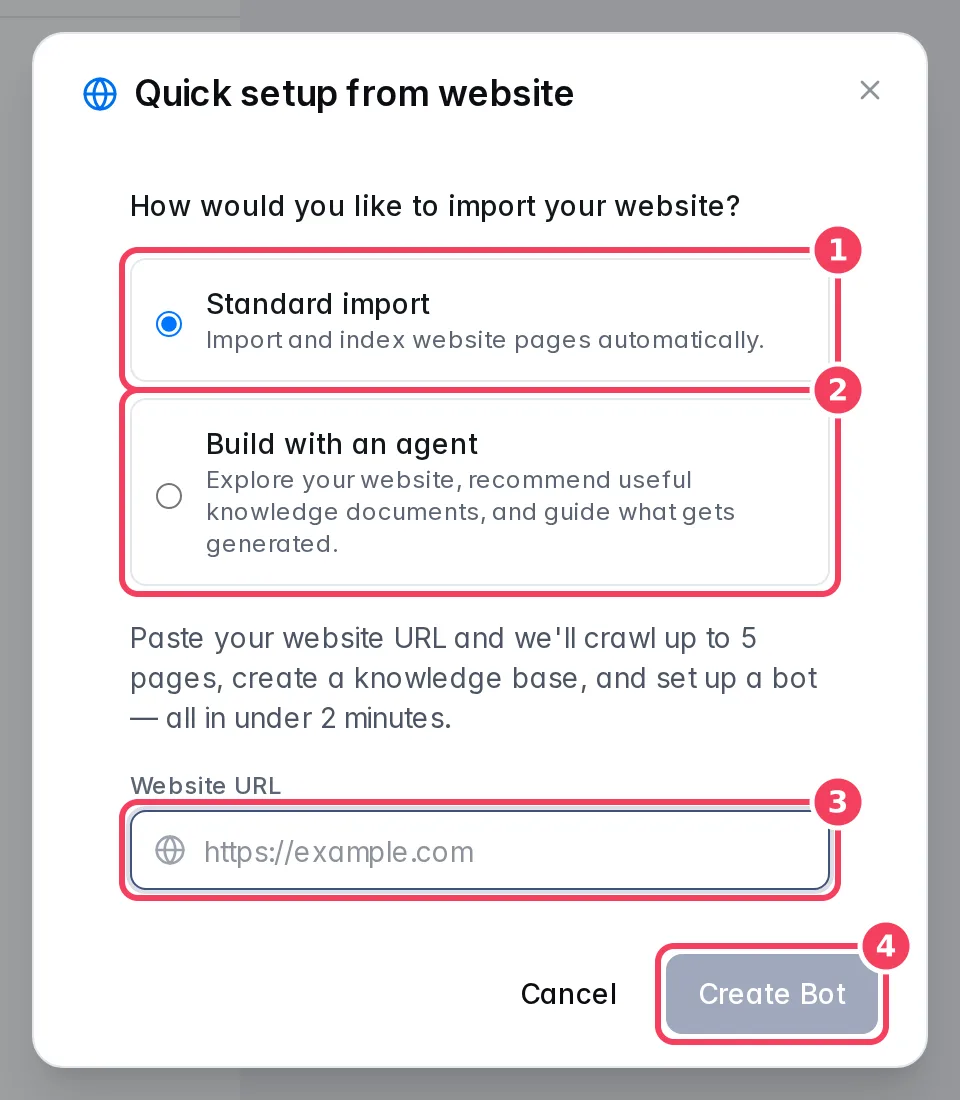
Keep Standard import selected, paste your website address into Website URL, and click Create Bot.
Quick setup from website -
Konkui crawls a few pages, saves them as knowledge files, creates the bot and indexes the pages. You can close the dialog; the import keeps running.
-
When it's done, click Go to Bot. The bot switches on once every imported page is ready.
No website, or prefer to write it yourself? Open Bots. If you have no bot yet, choose Start from scratch, give the bot a name, and pick a goal (Products and orders, Services and appointments or General support) to get a suggested instruction. Your first bot is switched on automatically.
Want more control? Choose Build with an agent instead of Standard import. The agent explores your site with you, recommends knowledge sources, and only builds what you approve. See Bots › Setup from website.
4. Try your bot
Click Test your bot at the top of Home (or Test Bot on the bot's page). Ask the questions your customers ask most and check the answers. If something is missing or wrong, the fix is usually more knowledge; see Teach your bot and Test and improve.
Then open the bot's Settings to fine-tune its name, duties, tone and rules. Every field is explained in Bots › Bot settings.
5. Finish the checklist
Work down the rest of the checklist. Each task takes you straight to the right page and turns green with Done when it's complete.
| Task | Why it matters | How-to |
|---|---|---|
| Create a bot | Done automatically by step 3. | Bots |
| Connect a channel | Customers can't reach the bot until LINE, Facebook or Instagram is connected. | Connect channels |
| Add knowledge files | Price lists, policies and guides make answers accurate. | Teach your bot |
| Connect shops and products | Lets the bot answer catalogue questions and recommend products. | Sell online |
| Set up team handoff | Someone is alerted when a customer needs a person. | Inbox and handoff |
A task that doesn't apply to you can be hidden with its × (or hide the whole card with Dismiss all). Dismissing hides it for everyone in the workspace; restore it under Dismissed tasks in Settings › General. Need a hand going live? Click Get channel setup help under the checklist.
Check that it worked
On Home:
- Bot health shows Bot live.
- The checklist shows your progress, and turns into Setup complete when everything left on it is done.
- Once a channel is connected, customer conversations appear in Messages, and anyone waiting for a person shows up under Needs attention.
Next steps
- Teach your bot: add files, FAQs and knowledge.
- Connect channels: put the bot on LINE, Facebook or Instagram.
- Team and roles: invite your team.
- Home: everything on the command center and the sidebar.